Hexie Tutorial

I am a very frugal hand stitcher. I recycle as much as possible of new fabric, tools repurposed, clothing that has a texture fitting my CQ fingers. I am in love with hexies too!
So this is how I usually start a new Hexie Fit, I start by taking out one of the few of the perfect cut paper cuts from a quilters garage sale and I lightly tack it to cereal board, cut out the exact shape for the future paper pieces.

Then I proceed and fully tack the original perfect paper hexie shape to the final cereal board. This way you end up with two exact hexie shapes, one for the paper piecing you'll hand draw and cut out AND the perfect hexie shape that you have taken your quilting ruler and made the outside lines for a 1/4 inch allowance, see below the finished "Fabric" shape from which you'll hand cut all your shapes for piecing.

By all means, do use cereal board for all sorts of other shapes for templates. Now, lets get to the best part, the Hexies!

These little things all cost money to buy them in plastic or whatever. And its so easy to make them yourself! I'm all for buying these little pieces all cut if you are making something that takes thousands of paper pieces for your hexies.

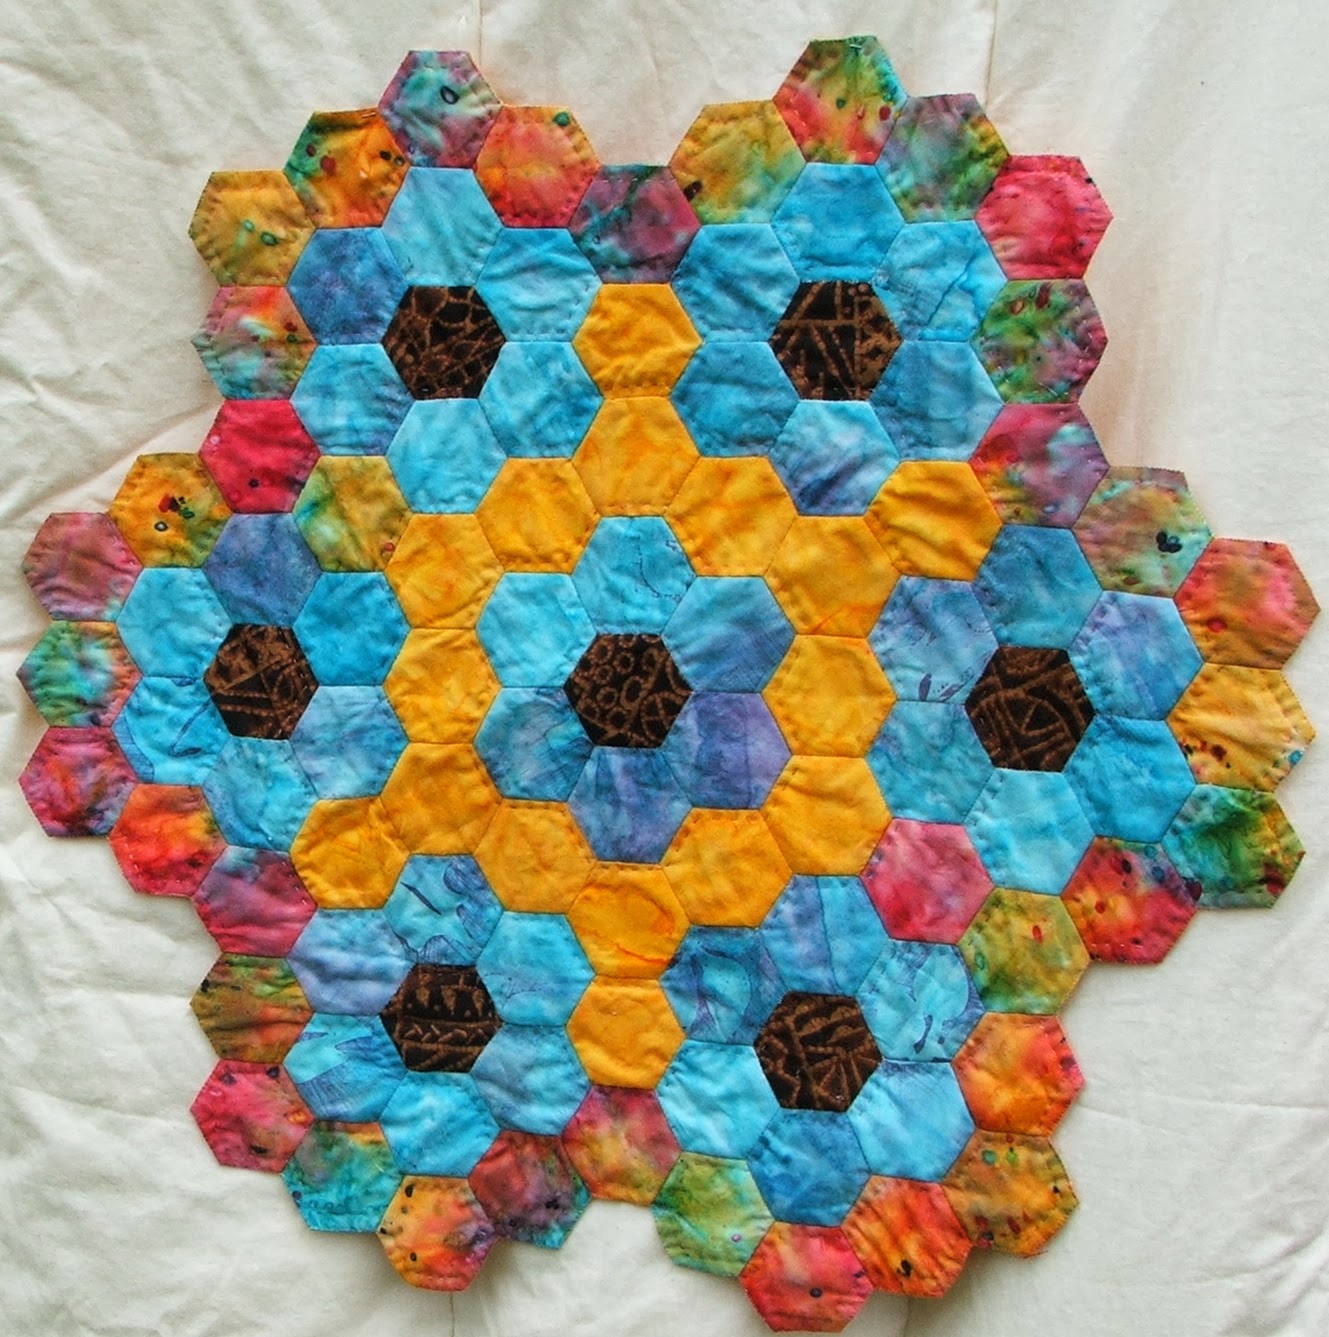
You can fussy cut these little beauty's and have even more fun!

Recycling at its best and frugal too!


Do check out this other great little tutorial over at Posse Patchwork
Hope you've enjoyed a little look inside my crazy hexie project!Thanks for dropping by..till next time~
Carli


Comments
Post a Comment
Thank you for commenting!
I think its neat when other's feel compelled to write a comment. I check on notifications frequently. If you are a no-reply commenter, please leave an email address if you wish to hear back from me directly.